Clay Bar & Decontamination: Glass-Smooth Paint
Washed it, but the paint still feels gritty? That's bonded contamination. Clay bar and decontamination is how you get glass-smooth paint before you protect it.
By The Helping the Detailer Team
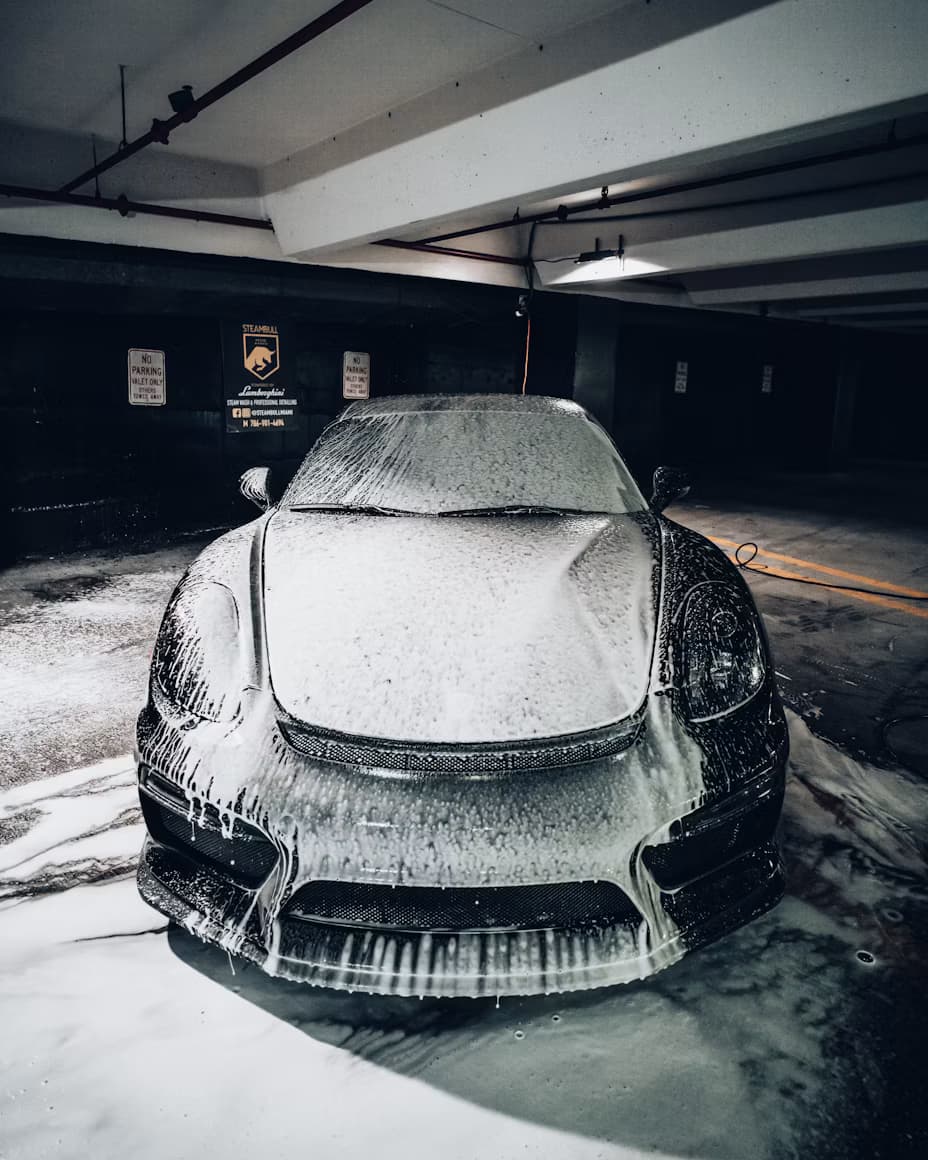
Even after a proper wash, does your car's paint feel rough to the touch? That's bonded contamination (brake dust, rail dust, tar, tree sap) that washing alone can't remove. But we can eliminate it by performing the clay bar and chemical decontamination stage — leaving your paint glass-smooth and ready to polish, or to protect later on.
Disclaimer
Every car, product, and situation is a little different, so please treat this guide as a helpful starting point — not a strict rulebook. Always read and follow the instructions on the products you use, and if you're ever unsure, test on a small area first.
Detailing your own car carries some risk, and we can't take responsibility for any damage that happens along the way. Take your time, work gently, and when in doubt, slow down.
Look after your car, and it'll look after you. Happy detailing.
What you'll need
- Clay bar or clay mitt
- Clay lubricant — or soapy water as a budget option
- Iron fallout remover
- Tar remover
- A few microfibre cloths
- Hose or Gerni
When claying, some very minor marring is normal — don't panic. As the clay bar drags along, the dirt it picks up can lightly mar the surface and leave faint scratches. That's exactly what paint correction is for. You don't have to polish after claying, but it's highly recommended to bring the finish back.
If you ever drop your clay bar on the ground, throw it out — do not keep using it. It only takes one tiny piece of grit stuck in the clay to drag across your paint and leave deep scratches on every panel you touch. A new clay bar is cheap; fixing a scratched-up car is not. (Drop a clay mitt? Rinse it thoroughly before carrying on — but when in doubt, replace it.)
The method
Make sure your car is washed with the three-bucket wash method first. Claying dirty paint just drags grit across the surface and puts swirls right back in.
With your tar remover, generously spray it all around the bottom of the car, the whole way round. Optional, but to be sure, spray halfway up the car as well — tar can travel higher than just the skirts and bumpers. Let the product dwell (check the bottle for how long), agitate it with a microfibre cloth, then rinse it all off.
Now the tar's removed and rinsed off, grab your iron remover and spray it generously all over the car. Let it dwell until it turns purple — that's the product reacting with the iron particles. After the correct dwell time, agitate with another microfibre, then rinse it off.
The claying stage. Now you know the paint's been chemically decontaminated, you can clay the surface. You can use proper clay lubricant or just soapy water — as long as the clay always has a lubricant between it and the paint, you're fine.
With your spray (doesn't matter which), generously spray a section of a panel. Once it's lubricated, take your clay bar or clay mitt and rub left and right in a medium-to-quick motion, slowly moving across the panel. Start at the top of the panel and work your way down.
For a traditional clay bar, fold it over for each new panel — the clay picks up embedded dirt, and dragging that along can cause scratches and marring. For a clay mitt, rinse it with your hose or Gerni after each panel, as mitts don't hold dirt the way a traditional bar does.
Rinse each panel once you've clayed it. You'll feel a noticeable difference in the paint — a showroom, glass-smooth finish, with the water behaving differently on the surface. That's exactly what you want; that's the car telling you the paint is fully decontaminated and ready for polishing and paint correction. Before you move on, make sure the car is completely dry — paint correction is always done on clean, dry paint.
Ready for the next stage?
Polishing and paint correction →