How to Remove Swirl Marks with a 2–3 Step Paint Correction & Polish
Swirls and scratches scatter light and dull your finish. A proper paint correction cuts them away and brings back a deep gloss.
By The Helping the Detailer Team
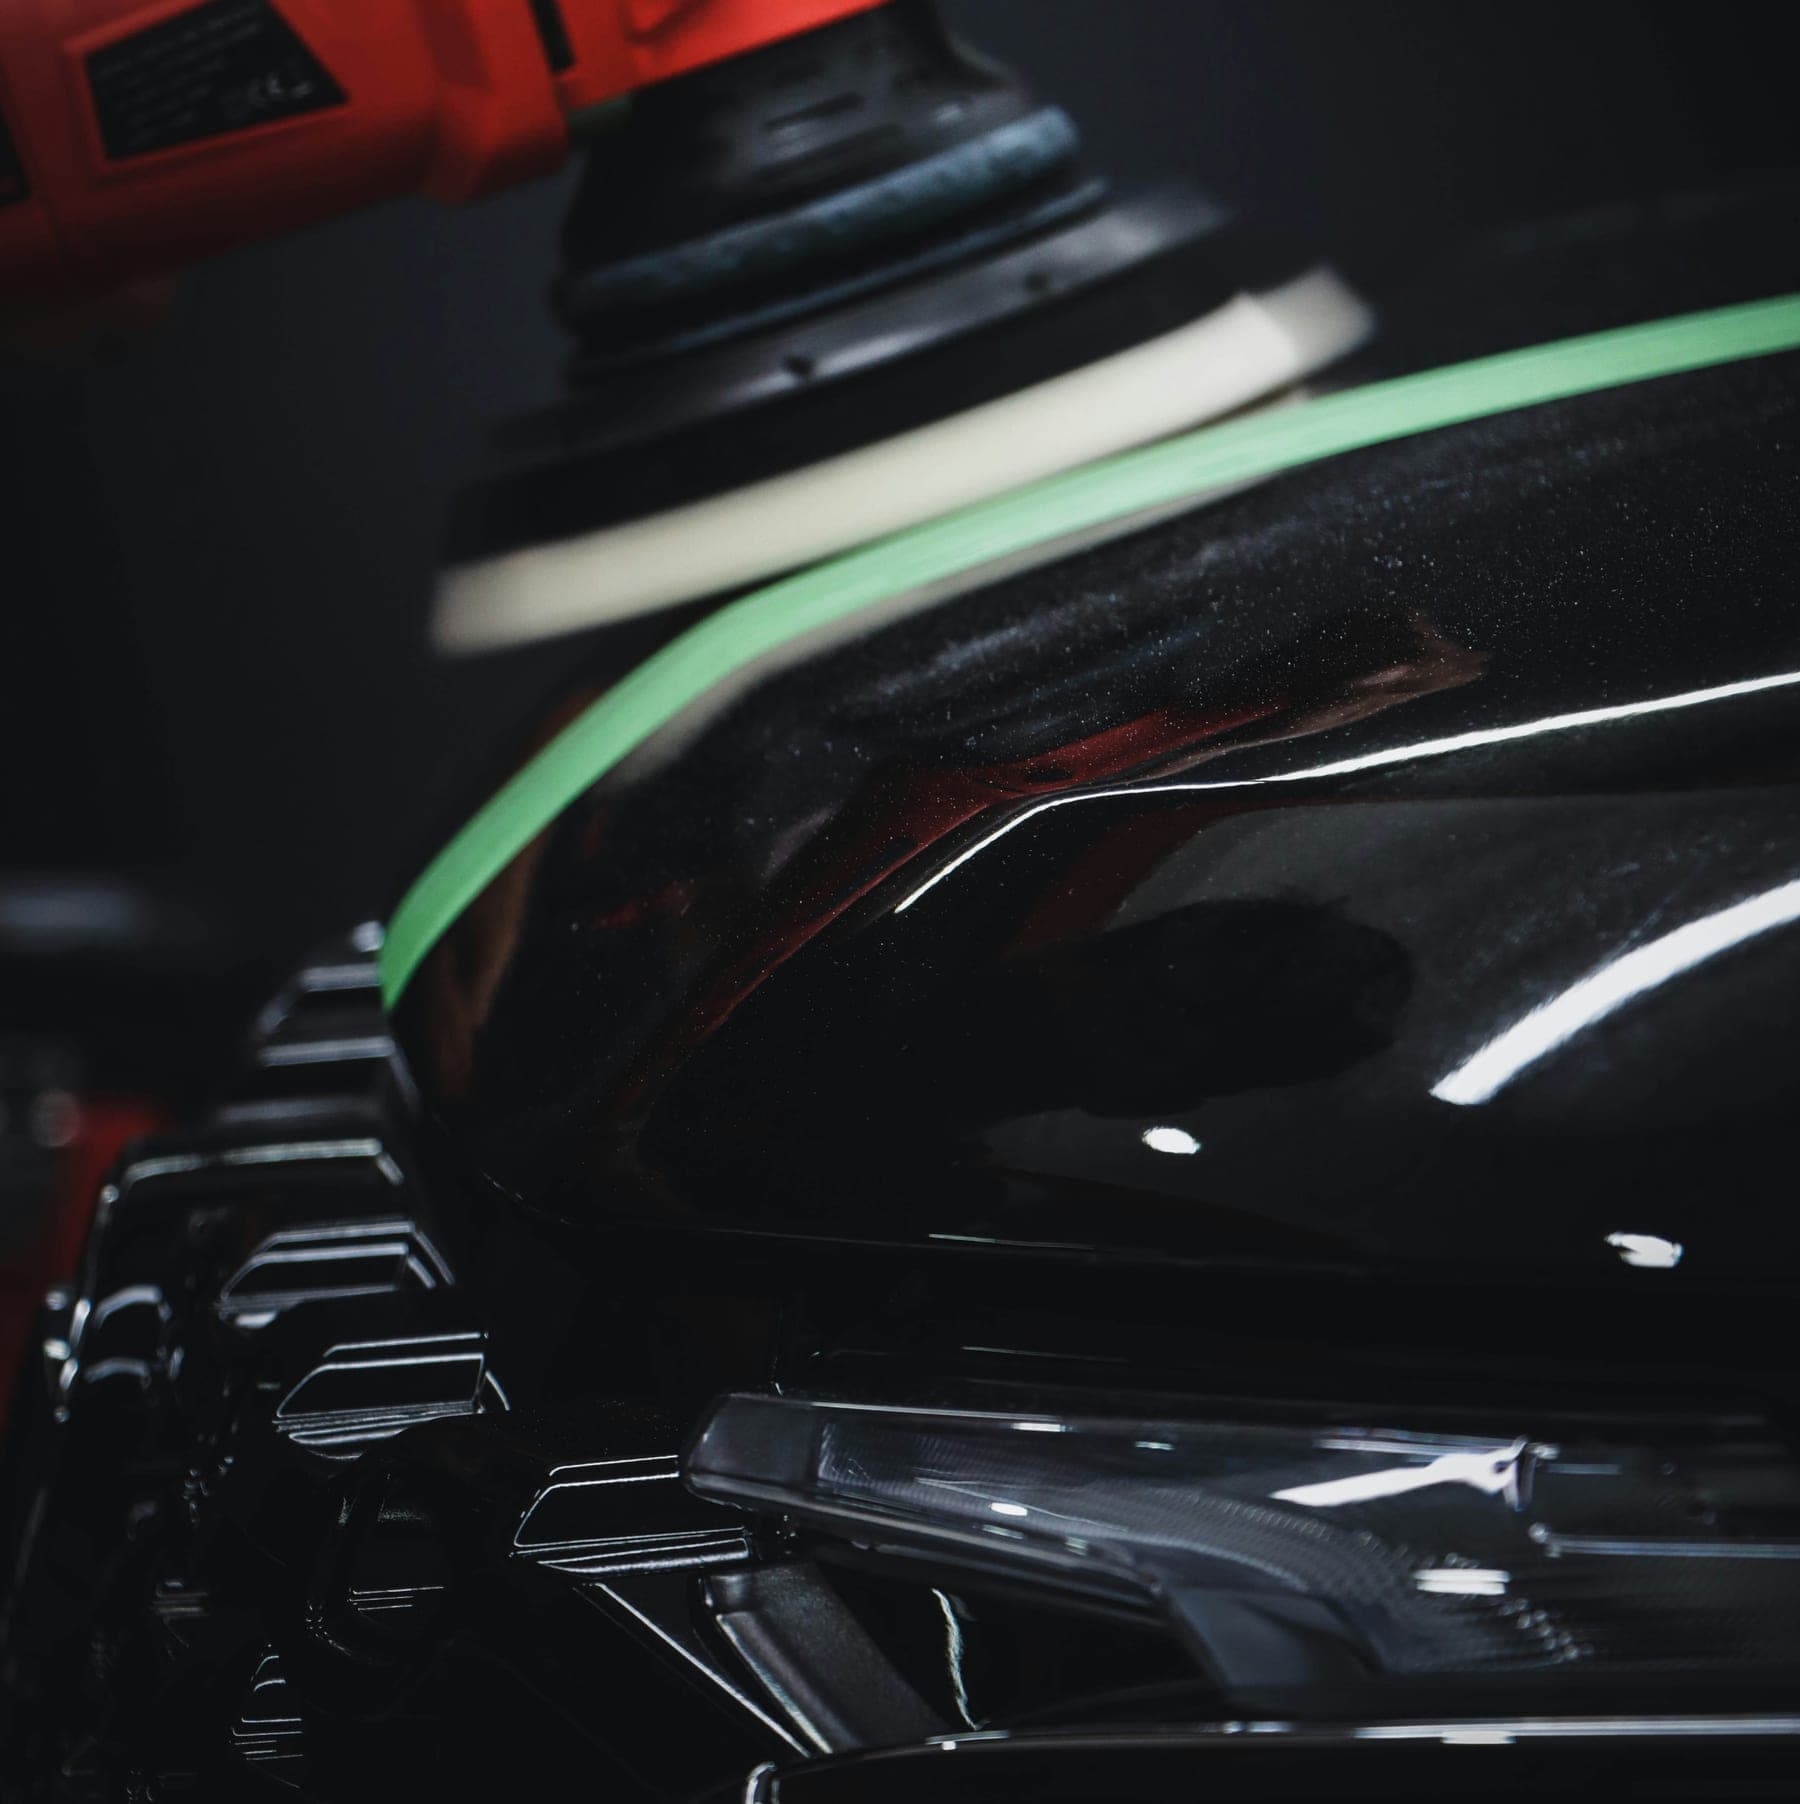
Swirl marks are fine scratches in your clear coat that scatter light. Machine polishing levels the clear coat just enough to make them disappear and bring back a deep gloss. A dual-action (DA) polisher is the safest tool for beginners — it's very hard to burn through paint with one.
Disclaimer
Every car, product, and situation is a little different, so please treat this guide as a helpful starting point — not a strict rulebook. Always read and follow the instructions on the products you use, and if you're ever unsure, test on a small area first.
Detailing your own car carries some risk, and we can't take responsibility for any damage that happens along the way. Take your time, work gently, and when in doubt, slow down.
Look after your car, and it'll look after you. Happy detailing.
Read the instructions before performing any work — your polisher, your pads, and your compounds. Some polishers work differently to others, so don't assume one set of steps fits them all. Every pad is different too, so eyeball the amount of compound with what you've got — everyone uses different brands. A few minutes reading now saves a lot of grief later.
Keep in mind, all microfibres have a different GSM for different jobs. When wiping a panel down, it's recommended you use a microfibre with a GSM between 500 and 700. (GSM means grams per square metre — g/m² — basically how thick and plush the towel is.)
What you'll need
- Dual-action (DA) polisher
- Foam pads — one cutting, one polishing
- Cutting compound and finishing polish
- Masking tape — to protect trim and plastics
- A bright detailing light — so you can see the swirls and your progress
- A few microfibre cloths
The method
Make sure your car has been clayed and chemically decontaminated before you start any polishing or paint correction. Polishing or paint correcting without the clay bar stage can seriously damage your paint.
Set everything up before you start. Position your detailing light so you can clearly see the swirls and your progress, and attach your cutting pad to the dual-action polisher. Make sure everything's ready and within reach before the polisher's in your hand.
Every car's paint is different, so you may not need every stage. After claying, paint correction is usually a two-step job — correcting the paint, then adding the final touch to give it that finishing shine and deep, glossy glow.
Mask off your trim and plastics. Run masking tape along any rubber trim, plastic panels, badges and edges near where you'll be working. A spinning pad can stain, burn or mar these softer surfaces, and dried compound is a nightmare to get out of textured plastic. Taping them off keeps them safe and lets you polish right up to the edge with confidence.
With your paint clayed and decontaminated, you're now ready to polish and paint correct. Take your dual-action polisher and, with your selected compound, dab five to eight small blobs onto the pad — around the top, bottom, left, right, and middle. Keep them small, and dab them all over the pad, not in a line.
This is a two-step correction, for example. Inspect your car's paint first — if there are heaps of swirls and scratches and it needs more attention, step up to a three-step. If that's still not enough, you can go to a four-step. Always read the instructions on the bottle.
With the compound now on your pad, take the polisher and gently dab the pad onto the panel you're working on, leaving little dabs of compound across the paint. This evens out the compound across the pad and the paint before you start. Work in small areas — around 2x4 ft — on each panel, rather than the whole panel at once.
Now the compound's been evenly separated, place the pad flat onto the paint with even weight. Do not push hard — let the weight of the polisher do the work.
Turn the polisher on. Some polishers show different speeds — low, medium, high, or numbers from 1 to 10. For the first-step correction, start on low (around 2–3) to spread the compound. Once the area's covered, bump it up to medium (around 4–5) and work in slow, overlapping passes.
Repeat this process around the whole car. As you correct, keep the brush that came with your polisher handy (or a toothbrush) — every now and then, gently lay it against the pad while it's spinning to clear off the built-up compound. This refreshes the pad so it keeps cutting properly. Keep going until the whole car's paint has been corrected.
When you're done correcting, take a soft microfibre cloth and gently wipe in straight motions around the whole car, removing any residue. Inspect your work under your light to make sure you're happy with the correction, then it's ready for the next step — polishing.
Now the whole car's been corrected, it's time to polish and bring back the shine and gloss. Before you start, swap to the appropriate pad for polishing — read your polish brand's instructions to see which pad is for what. Make sure you switch your polishing compound too, not the cutting compound, and read the brand's instructions for which compound to use — you don't want to apply the wrong one.
Once the correct pad's on, repeat steps 5, 6, 7 and 8. On this final step, keep it on medium (around 4–5) and work in slow, overlapping passes — even weight, no harsh pushing onto the paint. Once the whole car's polished, inspect your work under the light before moving on.
Now your car's paint has been restored, grab a soft microfibre cloth and gently wipe off any leftover residue in straight motions, working around the whole car until it's all clear and shiny.
Now your car looks like it's just rolled off the showroom floor. For most detailing jobs, this is the last step — but if you want to go even further, head to the next and final stage: ceramic coating and protection.
Ready for the final stage?
Ceramic coating and protection →