The Three-Bucket Wash: A Swirl-Free Foundation
The most important thing in detailing is this. The three-bucket wash method. Wash your car without carrying all that dirt and grime with you as you go. More work. Less damage.
By The Helping the Detailer Team
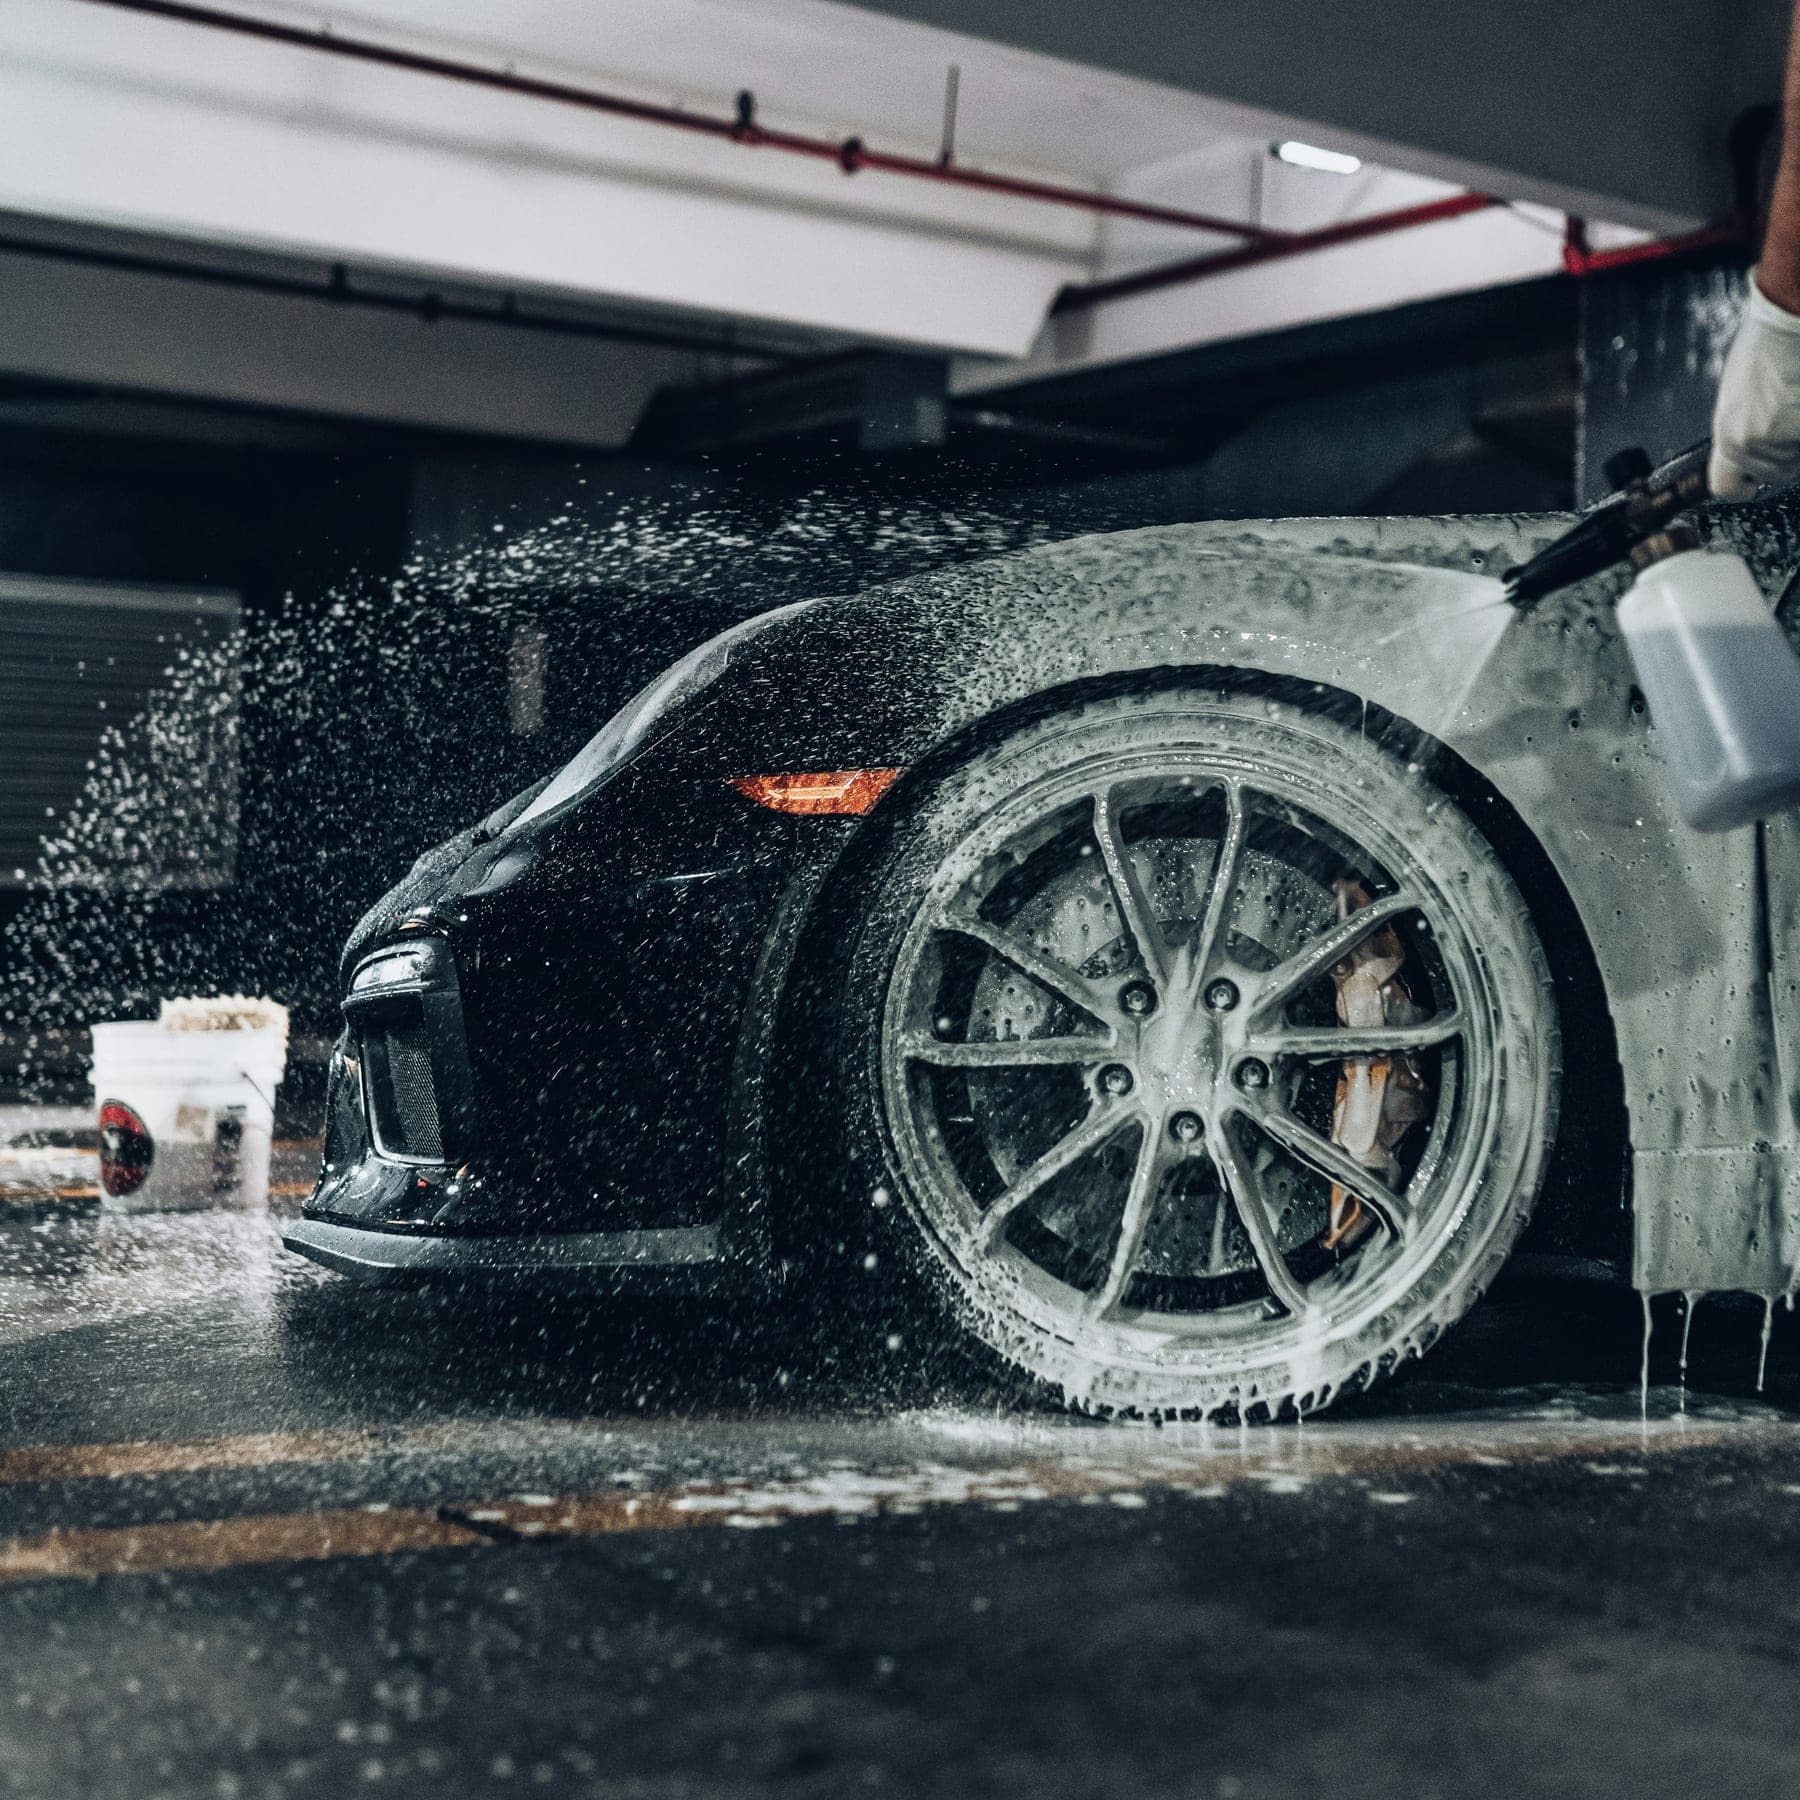
Dirt and grime gets on your car no matter what. It lives there. But you can get it off — by doing it the right way. Dirt and grime is one red-hot special at making swirls in your paint. Learn to wash your car properly, and you can say goodbye to those swirls. Simple.
What you'll need
- 3 buckets of water + your preferred soap — pH-neutral is recommended. Grit guards are optional but recommended
- Microfibre wash mitt
- Wheel brush
- Tyre brush
- Wheel/tyre cleaner — optional but highly recommended — the wheels are the dirtiest part of the car
- Bug remover — optional — softens baked-on bug splatter on the front of the car
- Hose or Gerni — a Gerni is optional but highly recommended
- Microfibre drying towel
- Tyre shine — liquid form is recommended — the spray-on type slings up as you drive
- UV protectant — optional but recommended — protects exterior plastic and rubber trim from fading in the sun
- Grit guards — a must-have — they trap grit at the bottom so it never reaches your mittoptional
- Soft detailing brushesoptional
- Gerni (pressure washer) — higher water pressure lifts dirt and grit betteroptional
- Foam gun / cannon — needs a Gerni, or buy a hose attachmentoptional
- Blow dryer — lowers the risk of scratches while dryingoptional
Disclaimer
Every car, product, and situation is a little different, so please treat this guide as a helpful starting point — not a strict rulebook. Always read and follow the instructions on the products you use, and if you're ever unsure, test on a small area first.
Detailing your own car carries some risk, and we can't take responsibility for any damage that happens along the way. Take your time, work gently, and when in doubt, slow down.
Look after your car, and it'll look after you. Happy detailing.
When detailing your car, always wash in the shade or a confined space, on cool paint. In direct sun, the water and chemicals dry on the surface before you can rinse — leaving water marks that, over time, can etch into the paint.
The method
Fill all three buckets with your hose — bucket 1 for wash (soap/solution), bucket 2 for rinse (clean water), and bucket 3 for wheels (soap/solution). Make sure you read the soap/solution instructions on the bottle for the correct dilution.
With your foam cannon, fill the bottle mostly with water, then add your soap/solution to the remaining space at the correct dilution. Filling it with soap first and then water makes the soap foamy, and you won't get the right results.
With your Gerni, set it up carefully and safely — make sure it's ready to go, with your hose hooked up for the high water pressure. It's also recommended you run water through the Gerni first to clear out any air pockets — air pockets can damage the Gerni's motor when it's running at full speed.
Start with the inner wheel arches. Give them a good wash first to get them clean — take your time with the ones lined with carpet. Then move on to the wheels: spray your wheel cleaner all over the rim and tyre, and wait 3–5 minutes for it to do its job. You'll know when it's ready — the product will turn purple. Agitate the wheel with your wheel brush and tyre brush, then rinse it all off. Repeat this process on all four wheels.
Got bug splatter on the front? While the car is still dry, spray your bug remover over the affected areas and let it dwell. Always read the product's instructions for the right dwell time and how to use it — then it'll rinse away in the pre-rinse.
With your Gerni or hose, rinse down your car thoroughly to get all the light dust and dirt off the paint. This is the pre-rinse stage.
With your car now rinsed, grab your foam cannon (attached to your Gerni) and foam the whole car. After you've sprayed it with foam, let it sit/dwell for 2–5 minutes so the foam grabs the dirt as it drags and drops down the car. This is the touchless wash.
After the foam has done its job, rinse the whole car down with water. This washes away all the loose dirt the foam has lifted. This is the rinse stage.
With your foam cannon, fill it back to the top with water and soap/solution. Now that the car's rinsed, go around and spray it with foam again. The foam helps clean the car and acts as a lubricant for when you do the touch wash.
Grab your microfibre mitt and dunk it into the wash bucket. Start at the top of the car — bonnet, windshield, roof, rear window, and boot — doing each panel and piece of glass in halves. Wash in straight motions, following the lines of the car — never in circles. Each time you finish a half, flip the mitt to a clean side, finish the panel, then head to your rinse bucket. With the grit guard inside, gently rub both sides of the mitt across the guard so all the dirt and grime falls off and gets trapped at the bottom. For the nooks and crannies — badges, grilles, and around the trim — use your soft detailing brushes. Repeat this whole process from the top of the car, working your way down, panel to panel.
After the whole car has been thoroughly washed, rinse it down — start from the top and work your way down. If you're not satisfied with the result, doing it all again won't hurt.
Once your car has been rinsed, grab your microfibre drying towel and gently run it over the paint, letting the towel do its job. A blow dryer works well too, if you've got one. You can also twist the towel out if it gets too wet.
Protect your exterior trim (optional, but recommended). Apply a UV coating to your exterior plastic and rubber trim to help stop it fading and going grey in the sun. Reapply every couple of months, depending on how long your product lasts. Always read the instructions for how to apply it and how often.
Now your car is dry and looking spick and span, grab your tyre shine and a tyre shine applicator (or a microfibre cloth). Go around to each wheel, add a small dollop onto your applicator or cloth, then run it around the tyre until it sets in. Make sure there's no excess residue, as it will sling off as you drive.
There you go — you've now got a nice, clean car sitting in your driveway. And you did it the right way. Swirl-free.
Ready for the next stage?
Clay bar and decontamination →