Interior Detailing: A Fresh, Clean Cabin
The interior — the most important part of a car. It's what you use every day. Learn how to detail it and make it fresh.
By The Helping the Detailer Team
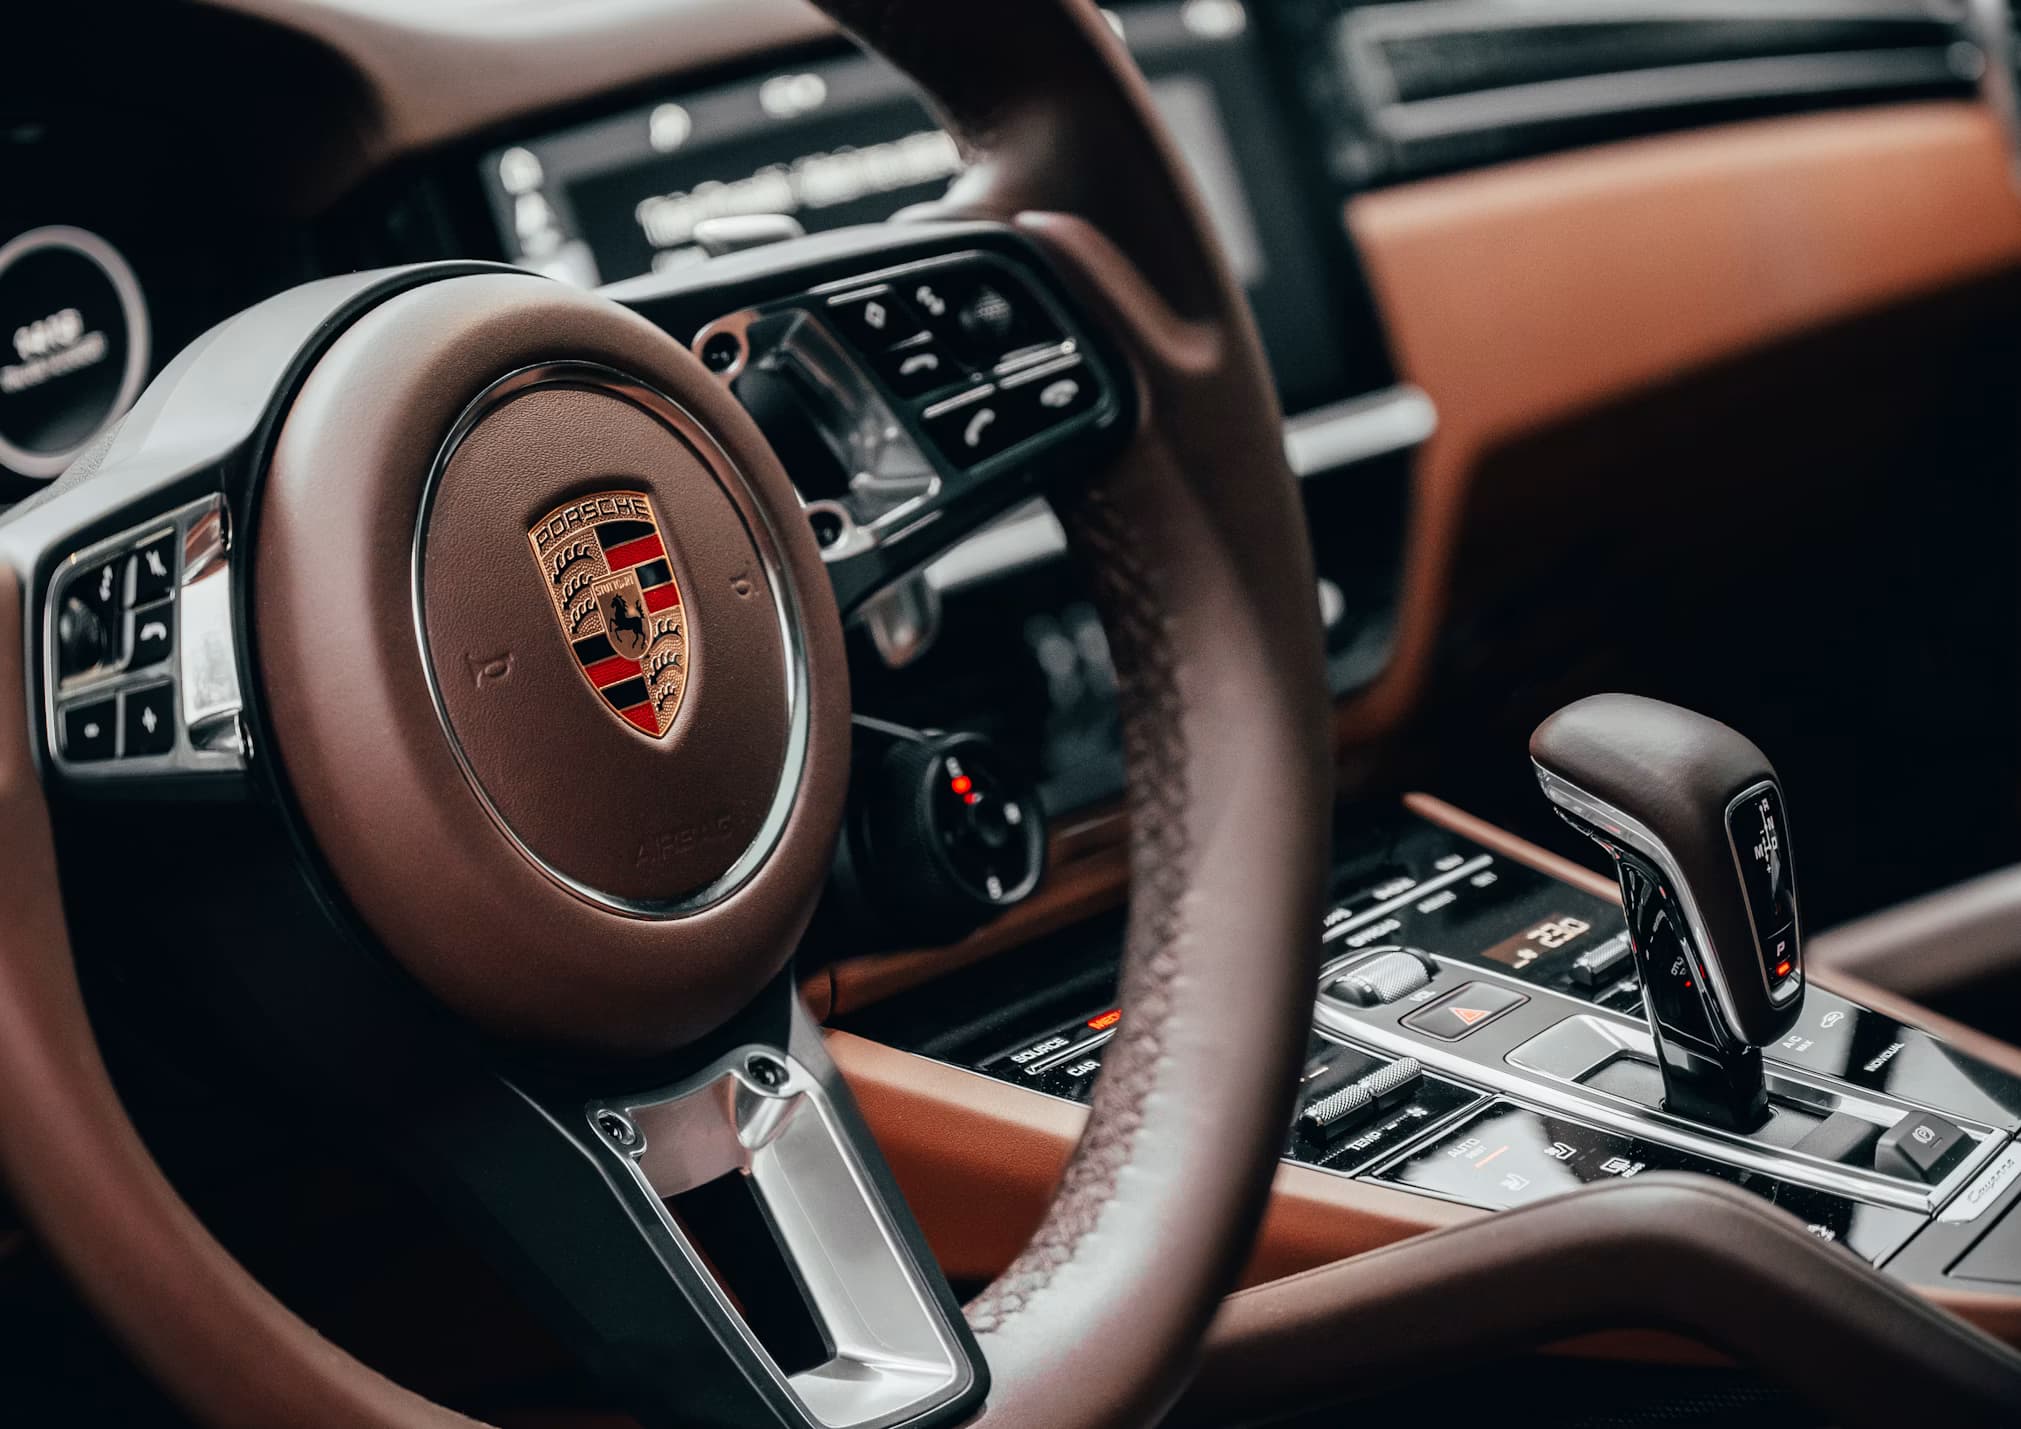
A clean interior makes every drive better. Crumbs, dust, and grime build up faster than you'd think — but with the right steps you can get your cabin looking and smelling fresh again. Here's how I tackle the inside of a car, top to bottom.
Disclaimer
Every car, product, and situation is a little different, so please treat this guide as a helpful starting point — not a strict rulebook. Always read and follow the instructions on the products you use, and if you're ever unsure, test on a small area first.
Detailing your own car carries some risk, and we can't take responsibility for any damage that happens along the way. Take your time, work gently, and when in doubt, slow down.
Look after your car, and it'll look after you. Happy detailing.
What you'll need
- Vacuum with attachments — a crevice tool and a soft brush head help you reach everywhere
- A few microfibre cloths
- All-purpose cleaner (APC) — dilute it down for interior surfaces
- Soft interior detailing brushes
- Glass cleaner — automotive and ammonia-free is safest on tint
- Plastic and trim dressing — go for a matte finish, not greasy or shiny
- Leather cleaner and conditioner — only if your car has leather
- Wet/dry extractor — deep-cleans seats and carpetsoptional
- Steam cleaner — lifts stains, cleans vents, and sanitisesoptional
- Compressed air or an air blower — blasts dust out of vents and tight seamsoptional
- Drill brushes — make quick work of carpets and floor matsoptional
- Fabric and carpet protectant — helps repel future spills and stainsoptional
Go easy on moisture inside — the cabin doesn't dry like the outside of the car. Use damp cloths rather than soaking wet ones, especially around screens, buttons, and electronics. Too much water leads to fogged-up windows, damp smells, and can even damage electrics.
The method
Clear everything out. Take out all the rubbish, personal items, and the floor mats. You can't detail around clutter — a clear cabin lets you reach and clean every surface properly.
Blow out the dust first. Using compressed air or a blower, blast the dust out of the vents, seams, seat rails, and all the tight spots you can't reach by hand. It lifts the hidden dust loose so your vacuum can actually grab it.
Vacuum everything, top to bottom. Work from high to low — seats, carpets, mats, the boot, and into every crevice with the crevice tool. Going top to bottom means any dust you knock loose gets picked up after. Hit the tight seams with compressed air as you go to push hidden dust out for the vacuum.
Steam clean the stubborn spots — optional. Only steam if the interior really needs it — for baked-on grime, stains, grubby vents and switches, or to sanitise and freshen things up. Steam lifts dirt that wiping alone won't and gets deep into the tight spots. Be careful — the steam is very hot, so keep it moving, don't linger on one spot, and keep your distance from delicate surfaces like screens and trim. Most steamers let you adjust the heat and pressure, so dial it down for softer materials and only turn it up when you really need to.
Wipe the dust away with a damp microfibre, then with a new, soft microfibre, use your APC over the hard surfaces. Read the instructions in case the APC needs diluting.
Deep-clean the floor mats. Pull the mats out and clean them separately. Wet them down first, then spray on your APC. Rubber mats can be scrubbed with a brush and hosed off; carpet mats respond well to a drill brush — agitate, then extract or rinse, and let them dry fully before they go back in.
Clean the seats. For fabric seats, you can use APC or a dedicated fabric cleaner — spray it on, agitate with a brush, then blot and wipe the dirt away. An extractor pulls the dirt and moisture back out for a much deeper clean and faster drying. For leather seats, use a proper leather cleaner with a soft brush — a diluted APC works on leather too — then wipe it clean and follow with a conditioner to keep the leather soft and protected.
Extract the carpets — if they need it. This step is optional unless the carpets really call for it (stains, ground-in dirt, or lingering smells). With your wet/dry extractor, deep-clean section by section — spray, agitate with a brush, then extract. It pulls grime and most of the moisture back out, so the carpets come up cleaner and dry far quicker.
Dress the plastics and trim — optional. This step is optional, but a nice finishing touch. Wipe a matte interior dressing onto the plastics and trim with a microfibre or applicator, then buff off any excess. Go for a natural, matte finish — avoid greasy, shiny dressings, especially on the dash, where glare can bounce up into your eyes as you drive. A UV-protectant product is recommended too — it helps shield the plastics from the sun and slows down wear and tear like fading and cracking.
Clean the glass last. Save the interior glass for the end so nothing oversprays onto it. Use an ammonia-free glass cleaner — spray the cloth, not the glass — then buff with a second, dry microfibre for a streak-free finish. Don't forget the top edge of the windscreen and the rear-view mirror.
Treat and protect — optional. This step is optional, but a great finishing touch. Once everything's dry, hit the fabric seats and carpets with a fabric protectant to help repel future spills and stains. For any lingering smells, use an odour eliminator — or for stubborn odours, an ozone treatment.
Final touches. Pop the dry mats back in, give the steering wheel, gear shift, and door handles a final wipe, and add a subtle fragrance if you like. Step back and enjoy a fresh, clean cabin.
Inside done — ready for the outside?
The three-bucket wash →